Watch YouTube Distraction Free with Unhook Extension

Unhook is a Chrome extension that allows you to watch YouTube videos in a distraction-free environment. I have experimented with several similar YouTube tools in the past and nothing compares to the practicality and easy of use of Unhook. The tool is simple and easy to use and is also available as an add-on for Microsoft Edge and Firefox users.

How Does Unhook Work?

Here is how Unhook works. First, head over to Chrome web store and and install the extension. Once installed, open YouTube and select the video you want to watch. Next, click on Unhook icon from top right hand corner, if it is not there make sure to pin the extension to your browser toolbar by clicking on the puzzle piece icon (Extensions) and selecting the pin next to Unhook (watch the video below to learn more). This ensures quick access whenever you need it.

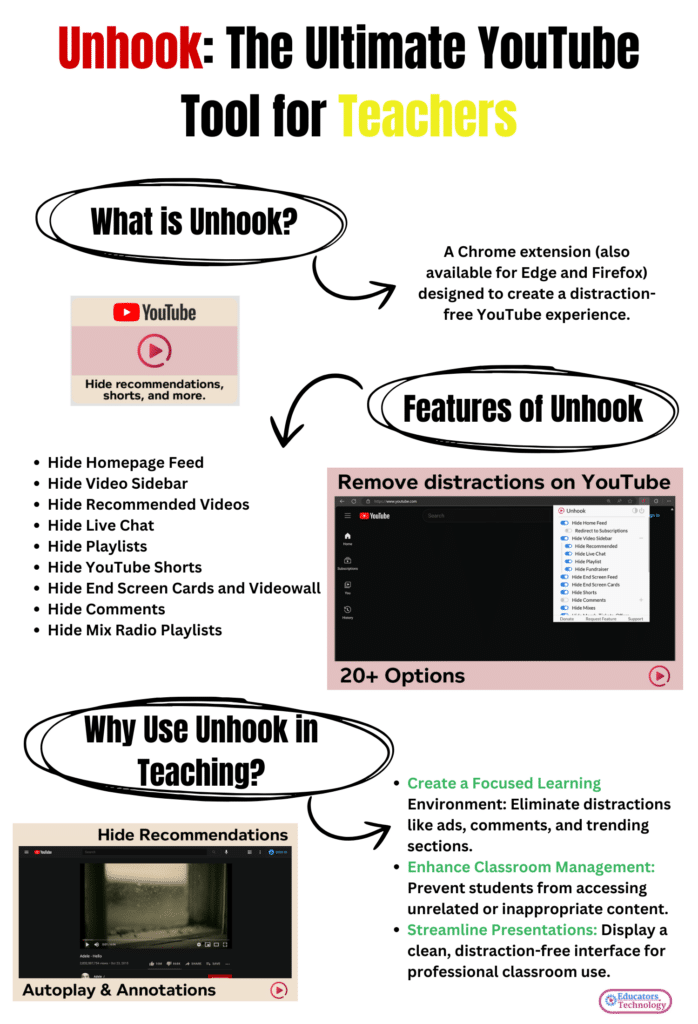
Now, customize the settings of Unhook, choose which options you want to keep or turn off. Here is the full list of options supported in Unhook:

  • Hide Homepage Feed
  • Hide Video Sidebar
  • Hide Recommended (Related Videos)
  • Hide Live Chat
  • Hide Playlist
  • Hide YouTube Shorts
  • Hide End Screen Videowall
  • Hide End Screen Cards
  • Hide Comments
  • Hide Mix Radio Playlists
  • Hide Merch, Tickets, Offers
  • Hide Video Info
  • Hide Video Buttons Bar (share, likes, dislikes)
  • Hide Channel (profile + subscribe button)
  • Hide Video Description
  • Hide Top Header
  • Hide Notification Bell
  • Hide Irrelevant Search Results (“Related to your search”, “Latest from”, “Searches related to”, “People also search for”, etc.)
  • Hide Explore and Trending
  • Hide More from YouTube
  • Hide and Redirect Subscriptions
  • Disable Autoplay
  • Disable Annotations

Watch this YouTube video to see Unhook in Action:

How to Use Unhook in Your Teaching?

Besides improving your own YouTube watching experience, if you are a teacher working in a school where YouTube is not banned, Unhook can be an excellent tool to integrate in your EdTech toolbox. YouTube is one of the top video hosting content out there and it offers a treasure trove of free educational content to use to enrich your lessons and engage students.

However, the distractions on YouTube—like recommended videos, ads, comments, and autoplay—can easily derail students’ focus. This is where Unhook comes in as a powerful solution to transform how you use YouTube in your classroom.

Basically, when you use Unhook, you will be to:

1. Create a Distraction-Free Learning Environment

Unhook enables you to hide unrelated content such as recommended videos, comments, live chat, and trending sections. This will force students to engage only with the educational material you’ve selected.

2. Enhance Classroom Management

No more worrying about students clicking on unrelated or inappropriate videos during a lesson. Unhook eliminates all distractive features!

3. Streamline Presentations

Another good way to use Unhook is when you’re projecting a YouTube video during class or using it as part of an interactive whiteboard lesson. Unhook will help you create an interface that looks professional and clean by removing autoplay, annotations, and unnecessary buttons.


Related: Top Educational YouTube Channels

Final thoughts

YouTube is an amazing source of educational videos to use in class and Unhook amplifies the educational potential of this platform allowing you to create distraction-free and video-focused learning environments. With distractions removed, students will be able to engage with content in deeper ways thus enhancing their focus and improving their comprehension. Go ahead, give Unhook a try and share with us your feedback!

The post Watch YouTube Distraction Free with Unhook Extension appeared first on Educators Technology.

Can You Legally Use That? A Guide To Copyright And Fair Use In eLearning

Dive into the world of fair use in eLearning and see how you can use copyrighted content in your courses while staying on the right side of the law. You’ll learn about the ins and outs of fair use, including what you can and can’t do, together with some tips to keep you clear of copyright issues.

This post was first published on eLearning Industry.

Canva Charts Generator Tutorial

When it comes to creating charts and diagrams to represent stats and data, most of us are often intimidated by the thought that it requires sophisticated tools and advanced technology and in sometimes graphic design knowledge.

Well, that used to be the case! Now a wide variety of EdTech tools make it super easy for anyone including those with the minimum design knowledge (like me) to create beautiful and professionally designed charts and graphic representations.

Several AI assistants currently support the creation of visual representations. Simply craft a detailed prompt with your stats and ask the bot to provide a visual representation. Or, better yet upload a CSV file and let the AI bot extract your data and help you design your chart. However, in today’s post, I am introducing you this simple and easy tool in Canva which allows you create beautiful charts.

As you all know, since its introduction a few years ago, Canva has become the mecca of accessible design tools, empowering educators, students, and professionals to create visually appealing content without needing advanced design skills. Canva’s intuitive interface, drag-and-drop features, and a massive library of templates have transformed how we approach design.

Given the educational value of this platform, I deemed it important to devote a whole section here in Educators Technology covering the different features Canva provides. And no, I am not affiliated in any shape or form with Canva. I simply recognize its potential as an invaluable tool for educators.

Creating Charts Using Canva

To start creating your charts on Canva, go ahead and open a document in Canva Doc. Once there click on the + icon or type in / (slash) and select the type of chart you want to create. As of writing these lines, Canva supports three types of charts:

Pie chart: Good for showing proportions and percentages, making it ideal for visualizing parts of a whole, such as survey results or demographic data.


Canva Charts

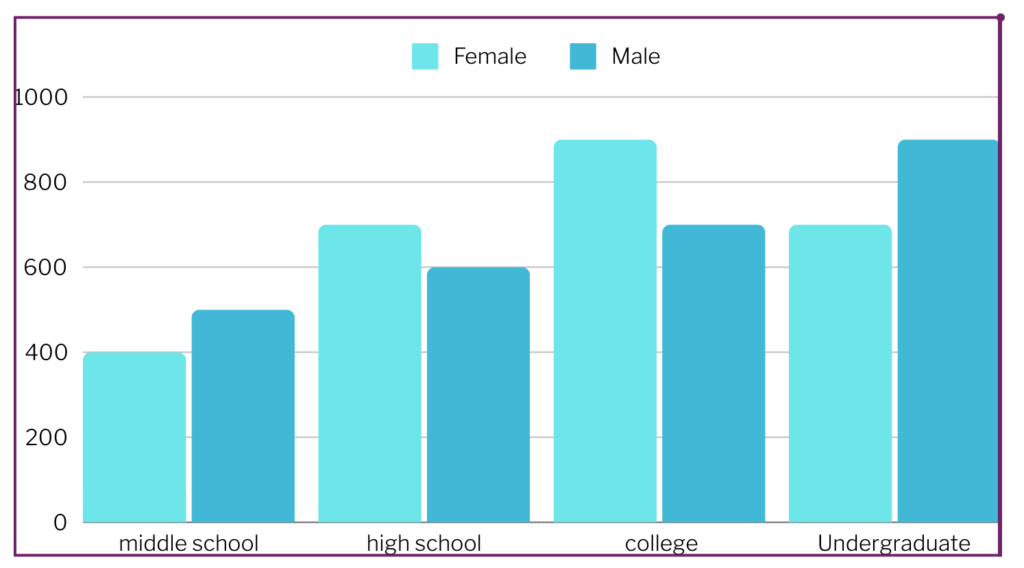
Bar chart: Best for comparing quantities across categories, like grades by subject, class participation, or resource usage.


Canva Charts

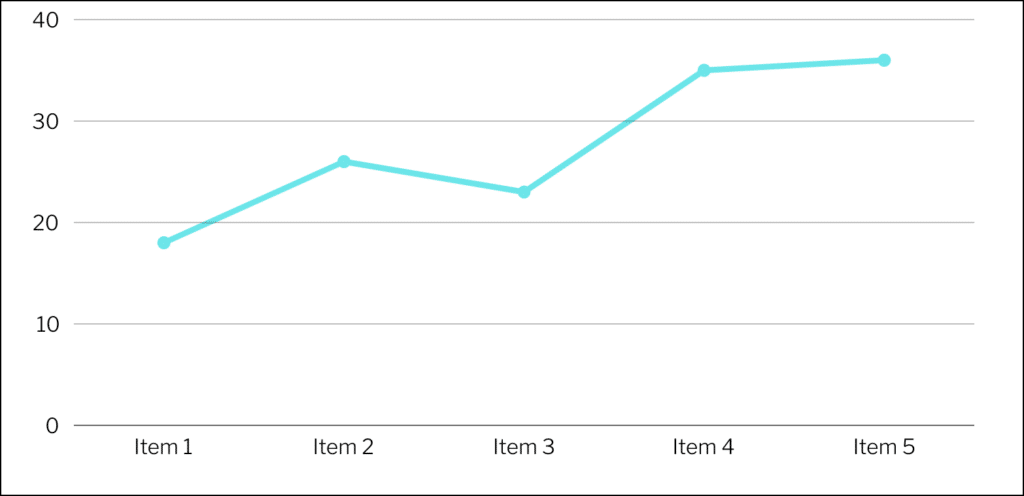
Line Chart: Perfect for displaying trends over time, such as student progress, attendance patterns, or performance metrics.


Canva Charts

Simply select the chart type you are interested in and fill in your data using the table on the left hand side. There are two ways to provide your data: you can either upload a file with your data and let Canva extract and use the data to create a visual representation for you. Files supported for upload include: CSV, TSV, and XLSX. You can also use the Google Sheets app in Canva to directly import your Sheets file into Canva Doc.

The second way is to type in your data manually. This can be cumbersome especially if you have too much data to input, but it works well for smaller datasets or when making quick edits. Simply enter your values into the table provided, and Canva will automatically update the chart to reflect your data.

Once your chart is ready, you can customize it further. For instance, you can change the colors, fonts, labels, and even add animations if you’re creating a presentation. In fact, this flexibility and easy of use is one of Canva’s strengths over other design tools.

In few minutes, you will be able to effortlessly generate a professionally designed chart that you can directly include in your documents or presentations.

Here is a video tutorial I recorded explaining how to use Canva to create beautiful charts:

Using Canva Charts Generator in Your Teaching

When it comes to using charts in your teaching, the sky is the limit. There are various ways to include them in your instructional practice. For instance, you can use Canva chart generator to easily create materials to enhance your lesson plans. Instead of providing dry data, use graphic charts to bring life to your data and to increase students engagement and motivation.

You can also use it to visually represent data to boost students’ understanding. Research has proven time and again that visuals tend to enhance memory retention and boost comprehension. For example, you can design charts to display students progress, illustrate complex concepts, or compare historical events, scientific phenomena, or literary themes.

Another way to use charts in your teaching is by creating charts that break down survey results, poll outcomes, or class performance metrics. You can even use them to represent steps in a process, like the scientific method or the writing process.

Related: Best Canva AI Features

Final thoughts

As I mentioned earlier, visuals like charts are important assets to use in your teaching. They boost students engagement and enhance their understanding by making abstract data more concrete and relatable for students which helps them see patterns, relationships, and trends more clearly. Canva is good option to try to out to help create charts easily and quickly. Go ahead and give it a try and share with us your feedback.

The post Canva Charts Generator Tutorial appeared first on Educators Technology.